Develop
When developing the design system, we use numerous different tools and frameworks, most of them depicted below.
Getting Started
Quick Start with CDN
Use the html template as basis, then copy-paste the stylesheet <link> into your <head> before all other stylesheets to load the CSS.
<link async href="https://static.design.if.eu/packages/@relax/bundle/8.16.16/relax.min.css" rel="stylesheet" type="text/css" />Then include the markup
<button type="button" onclick="" onkeydown="" class="relax-button">Button</button>Creating and storing PAT
1. Create a Personal Access Token
To be able to develop and use the Design System, you need a Personal Access Token (PAT) from https://waypoint.myget.org:
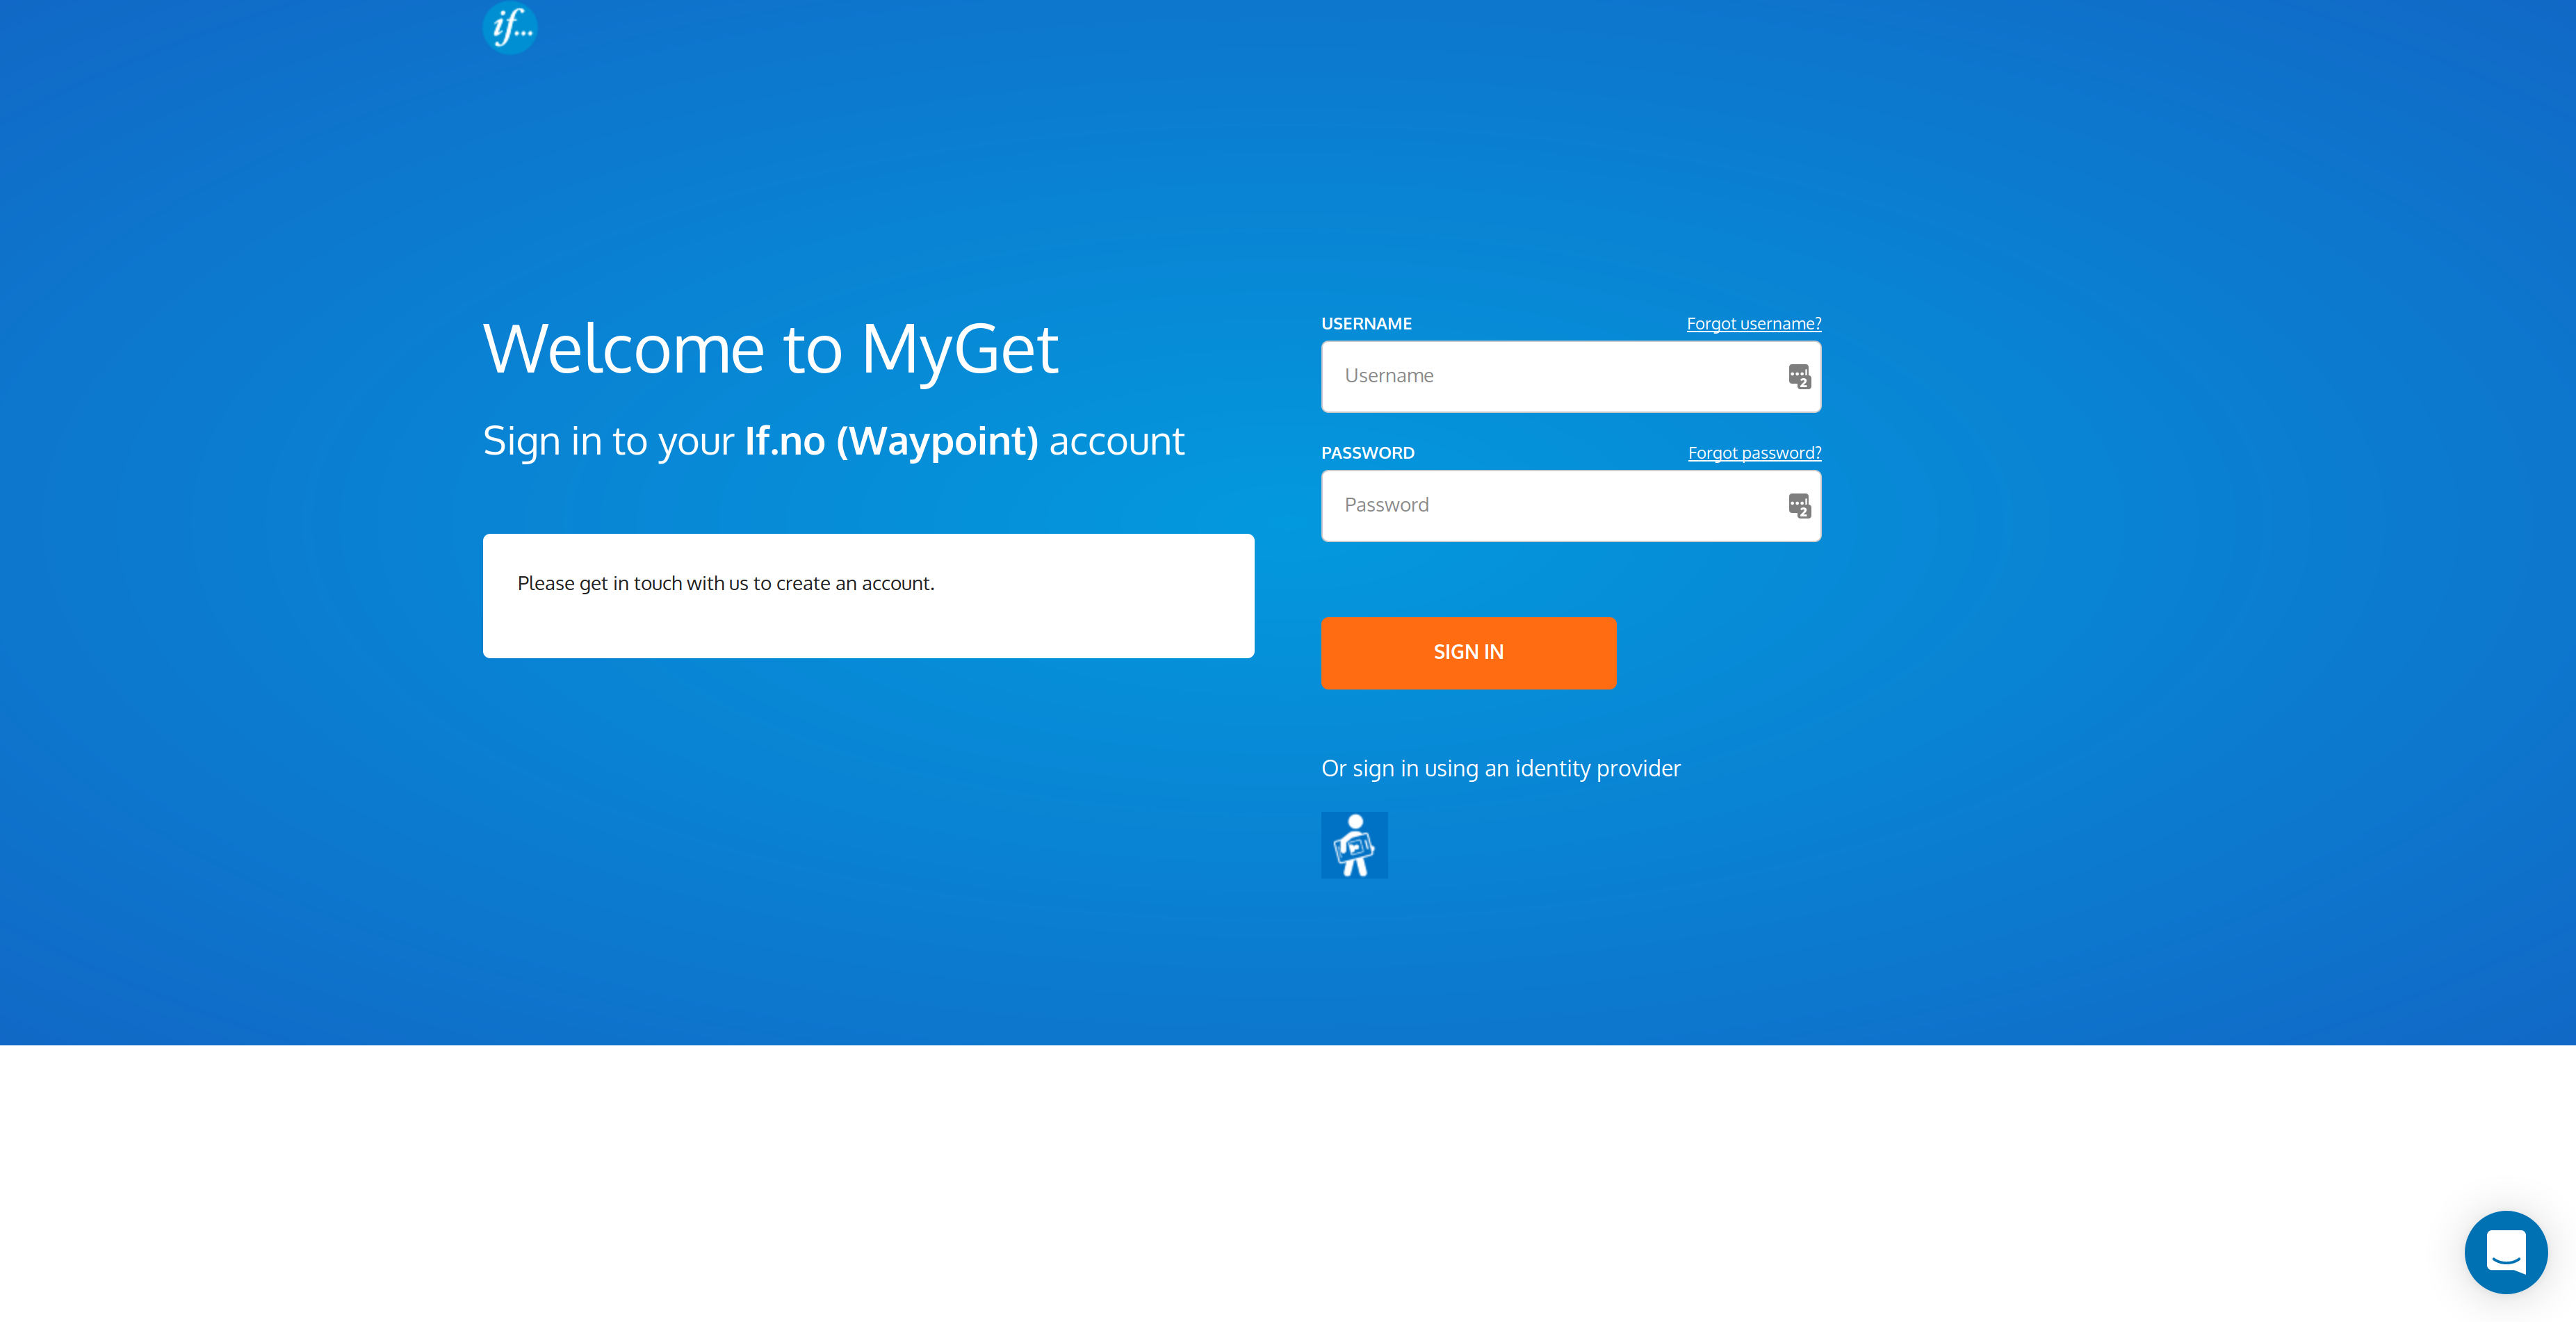
Go here: https://waypoint.myget.org/Account/Login, login with your AD-credentials:

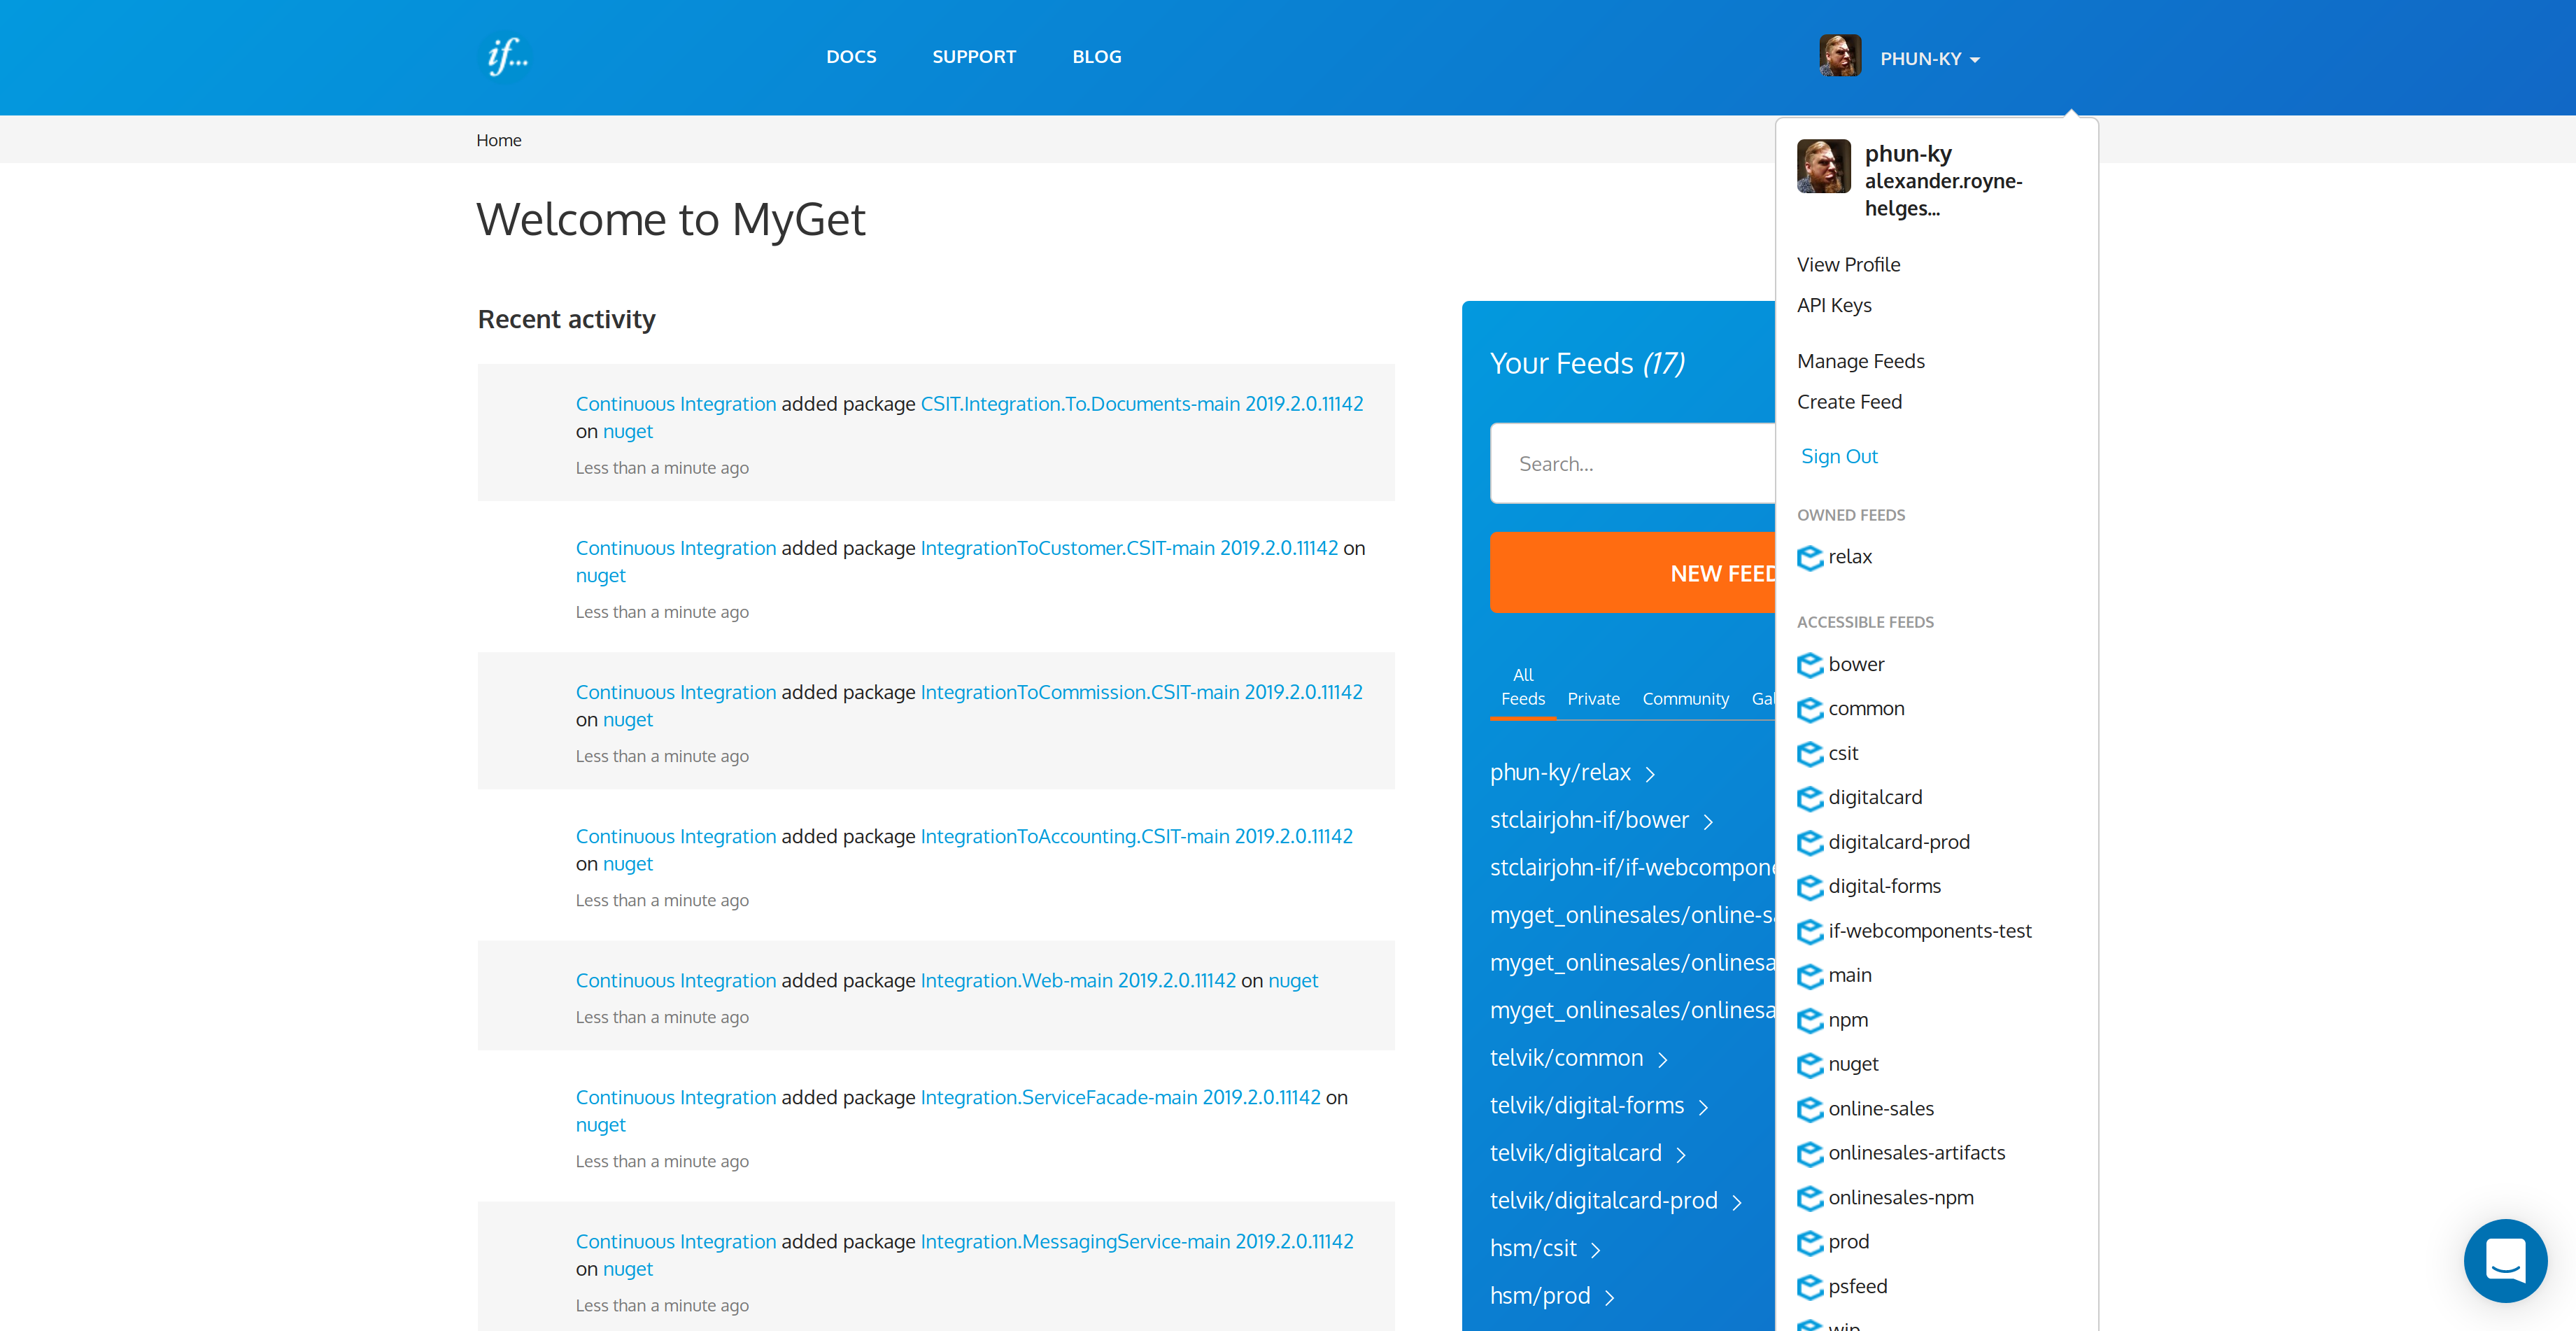
Then go to your profile page, and under "bio", you see your username to be used when logging in:


Then go to "Access Tokens" on the left hand menu, and generate your PAT:

2. Save the PAT as an environmental variable
Check that you have a .bashrc at your home directory:
$ ls ~/.bashrc
ls: cannot access '/home/alexander/.bashrc': No such file or directory
If you don't have a .bashrc-file, create one:
$ touch ~/.bashrcThen open the file in an editor, for example vi:
$ vi ~/.bashrcAnd save this line like so:
export RELAX_NPM_TOKEN=<YOUR_PERSONAL_ACCESS_TOKEN>Save and then restart the bash client or source the .bashrc-file:
. ~/.bashrc3. Create or update your .npmrc file in your project
Create or update the .npmrc-file in your project:
@relax:registry=https://waypoint.myget.org/F/relax/npm/
//waypoint.myget.org/F/relax/npm/:_authToken=${RELAX_NPM_TOKEN}
This will set the npm registry for @relax-scoped packages.
Installing Locally
This is the preferred way to consume the Component Library for If!
Make sure you have NodeJS and npm installed on your machine.
$ npm i @relax/bundle
// or
$ yarn add @relax/bundle
You can also install separate modules of the Component Library for If.
$ npm i @relax/button @relax/input-fieldsEach package provides precompiled CSS under its dist-folder. Referencing @relax/foo within a Node.js context will automatically reference the precompiled CSS under dist.
However, for optimal results, we recommend consuming the Stylus or Sass files directly. This is outlined in the steps below.
To get the assets:
- Copy the fonts/icons/images from their respective `node_modules/@relax/*`-directories in your preferred build system.
- Or reference them in you build system when building.
Via boilerplate
$ npx @relax/if-boilerplate-react <new-project-folder>For PowerShell users, you might want to do this:
$ setx RELAX_NPM_TOKEN "<personalAccessToken>"
$ npx @relax/if-boilerplate-react <new-project-folder>OR:
$ ($env:RELAX_NPM_TOKEN = "<personalAccessToken>") -and (npx @relax/if-boilerplate-react <new-project-folder>)You can also try this:
$ export RELAX_NPM_TOKEN="<personalAccessToken>" npx @relax/if-boilerplate-react <new-project-folder>This will setup a webpack, react, babel and relax environment with dev server and hot reloading for you :)
Starter template
Be sure to have your pages set up with the latest design and development standards. That means using an HTML5 doctype and including a viewport meta tag for proper responsive behaviors. Put it all together and your pages should look like this:
<!DOCTYPE html>
<html lang="en">
  <head>
    <meta charset="utf-8" />
    <meta http-equiv="Content-Language" content="no" />
    <meta name="robots" content="none" />
    <meta http-equiv="X-UA-Compatible" content="IE=edge,chrome=1" />
    <meta name="viewport" content="width=device-width, initial-scale=1" />
    <meta name="apple-mobile-web-app-capable" content="yes" />
    <meta name="apple-mobile-web-app-status-bar-style" content="translucent black" />
    <!-- optional <link async rel="manifest" href="/meta/manifest.webmanifest" /> -->

    <!-- optional! <link async href="https://static.design.if.eu/packages/@relax/bundle/8.16.16/relax.min.css" rel="stylesheet" type="text/css" /> -->
  </head>
  <body>
    <h1>Hello world!</h1>
  </body>
</html>
Using the components with Webpack and Stylus
This walktrough shows you have to install and use the styling for the components, and bundle the Stylus files with Webpack.
Step 1: Webpack with Stylus
We’re going to use webpack-dev-server to demonstrate how Webpack bundles our Stylus files. First, run npm init to create a package.json file. When complete, add the start property to the scripts section.
{
  "scripts": {
    "start": "webpack-dev-server"
  }
}
You’ll need all of these Node dependencies:
- css-loader: Resolves CSS @import and url() paths
- file-loader: Serves the .css file as a public URL
- stylus: Provides binding for Node.js to Stylus, peer dependency to stylus-loader
- stylus-loader: Loads a Stylus file and compiles it to CSS
- extract-loader: Extracts the CSS into a .css file
- webpack: Bundles Stylus
- webpack-dev-server: Development server
You can install them all like this:
$ npm i --save-dev cross-env css-loader file-loader stylus stylus-loader extract-loader webpack webpack-dev-serverIn order to demonstrate how Webpack bundles our Stylus, you’ll need an index.html. This HTML file needs to include CSS. The CSS is generated by stylus-loader, which compiles Stylus files into CSS. The CSS is extracted into a .css file by extract-loader. Create this simple “hello world” index.html:
<!DOCTYPE html>
<html >
  <head>
    <meta charset="utf-8" />
    <meta http-equiv="Content-Language" content="no" />
    <meta name="robots" content="none" />
    <meta http-equiv="X-UA-Compatible" content="IE=edge,chrome=1" />
    <meta name="viewport" content="width=device-width, initial-scale=1" />
    <meta name="apple-mobile-web-app-capable" content="yes" />
    <meta name="apple-mobile-web-app-status-bar-style" content="translucent black" />
    <link rel="stylesheet" href="bundle.css" />
  </head>
  <body >
    Hello world!
  </body>
</html>
And create a simple Stylus file called app.styl:
body
  color blue
Then configure Webpack to convert app.styl into bundle.css. For that you need a new webpack.config.js file:
module.exports = [
  {
    entry: './app.styl',
    output: {
      // This is necessary for webpack to compile
      // But we never use style-bundle.js
      filename: 'style-bundle.js'
    },
    module: {
      rules: [
        {
          test: /\.styl$/,
          use: [
            {
              loader: 'file-loader',
              options: {
                name: 'bundle.css'
              }
            },
            { loader: 'extract-loader' },
            { loader: 'css-loader' },
            { loader: 'stylus-loader' }
          ]
        }
      ]
    }
  }
];
To test your webpack configuration, run:
$ npm startAnd open http://localhost:8080 in a browser. You should see a blue “Hello World”.
Step 2: Include CSS for a component
Now that you have Webpack configured to compile Stylus into CSS, let’s include the Stylus files for the colors. First, install the Node dependency:
$ npm i @relax/colorWe need to tell our app.styl to import the Stylus files for @relax/color. Replace your “hello world” version of app.styl with this code:
import '@relax/color/src/color.styl'

.my-projectmy-container
  background-color $color-darkBeige-secondary
  height 20rem
  width 100%
Now add some markup:
<body >
  <div class="if my-container">Hello world!</div>
</body>
Now run npm start again and open http://localhost:8080. You should see your container with a background color!
Using the CSS outside a build system
If you want to just use the CSS without churning it through the build system, you can follow these instructions.
Install vendor-copy and rimraf to your project:
$ npm i vendor-copy rimraf--save-devAdd config to your projects package.json:
{
  "vendorCopy": [
    {
      "from": "node_modules/@relax/bundle/dist/fonts",
      "to": "public/styles/fonts"
    },
    {
      "from": "node_modules/@relax/bundle/dist/relax.min.css",
      "to": "public/styles/relax.min.css"
    },
    {
      "from": "node_modules/@relax/bundle/dist/relax.min.css.map",
      "to": "public/styles/relax.min.css.map"
    }
  ]
}
Add or update postinstall script:
{
  "scripts": {
    "postinstall": "rimraf public/styles && vendor-copy"
  }
}
Update your index.html:
<!DOCTYPE html>
<html  lang="en">
  <head>
    <link async href="/styles/relax.min.css" rel="stylesheet" type="text/css" />
  </head>
  <body ></body>
</html>
And you're good to go!
